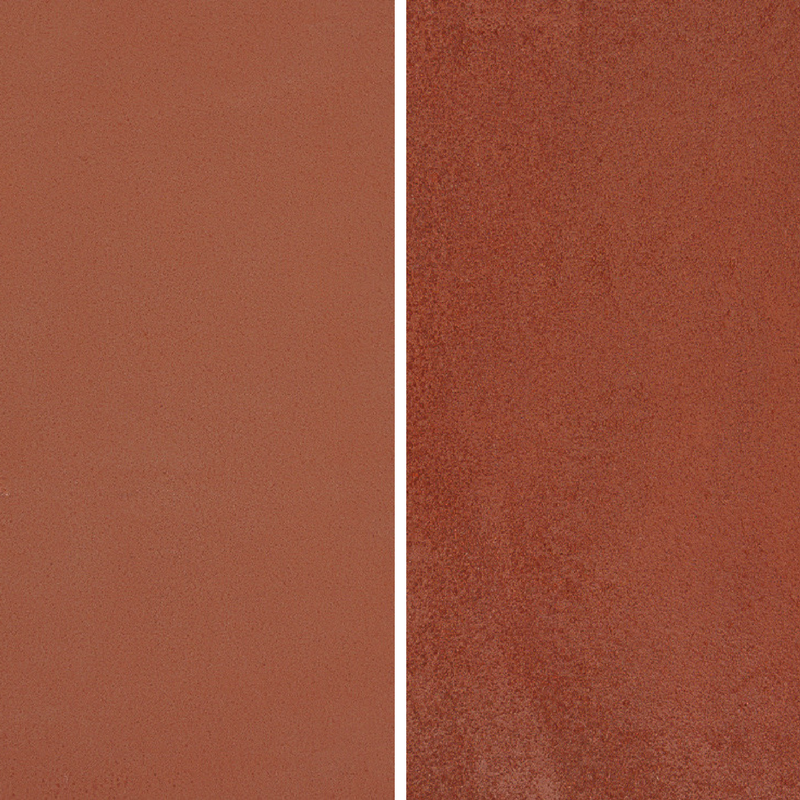
Staining Block
Commercial and residential projects commonly feature concrete blocks either in the structure of walls or fences around them. The reason for the use of cinder blocks is that they are considered to be very cheap construction materials and are quite easy to build. On top of that, the blocks are incredibly durable. So, you may find that block walls exist long after the surrounding materials have degraded. One side-effect of the durability of the blocks is that they can weather and lose their aesthetic charm over time. This is precisely why staining block has become so common. By staining block, you can completely re-invigorate an existing wall that is quite old and bring it to life again in a few simple steps. The use of paint of block does not result in a lasting high quality finish because it is simply a coating on the block. However, staining block allows the solution to mix with the material of the block itself and actually changes the color and composition of the block.
How to Stain Concrete Block
Testing
The first step to staining block is to test the stain you are planning to use in order to verify the color turns out how expected. Ideally, you should choose a spot of the block wall that is the least visible to people from the most common area. In many cases, there may actually be a completely hidden area that is hidden behind furniture, landscape, or other permanent objects. The area must first be cleaned and dried before application of the stain. Remember to cover areas where the stain will not be applied and to wear all necessary equipment to protect yourself against any spills.
Patching
It is important to patch any pre-existing cracks that may cover the block. First, sweep any loose concrete or or other debris that may be in the crack or the surrounding area. Then, fill the cracks in with a concrete patching compound. Once completely filled, take a putty knife to remove excess compound and smooth the surface. Remember to let the compound dry before continuing on with the staining block process.
Preparing
The area surrounding the cinder block wall must be completely clean without any unneeded obstacles. If there are any items that are removable, they should be removed. Cover the open space on the ground with a tarp to avoid damage to the underling ground.
Scrubbing
The entire surface should be scrubbed using a concrete cleaner that is appropriate for this application. If using an acid-based concentrate, it is usually about a 4:1 ratio of water to the solution (we highly recommend using non-acid-based cleaners during this process to protect the health of the people using the product and the environment). Again, let the surface dry prior to staining block areas.
Mixing
In many cases, the concrete stain may come as a concentrate and need to be mixed. Staining block requires an understanding of the stain itself to determine the exact ratio of stain to water. This is dependent upon the texture of the block wall. However, most concentrates are around a 1:1 ration of concentrate to water. If using acid-based stains, please remember safety gloves and goggles.
Filling
The most common practice of staining block includes using a sprayer to apply the stain evenly. So, after mixing, transfer the solution to a spray bottle or sprayer. Make sure the sprayer does not have any metal parts and that it is appropriately rated to be using the stain; especially if acid-based. Otherwise, you may see corrosion effect the function of the sprayer and change the color of the stain.
Applying
Staining block may require a large chunk of time so it is important that you are prepared to finish the job in the same day it is started whenever possible to avoid any issues with matching that can occur from contamination of the stain. So, begin on one side of the wall and continue on in one direction until complete. Be sure to use circular motions throughout the project to ensure a natural look. Generally, if you go in a clockwise direction first and then counter-clockwise over it, you should avoid any unwanted streaking.
Brushing
Using a medium bristle brush, you want to be sure to brush the stain deep into the cinder blocks in order to push the stain into the porous surface of the wall. Again, you want to use circular motions during this application process as well. One common way to speed this process up is to have one person spraying and another following behind with the brush.
Reapplying
After the brushing has pushed the stain well into the surface of the block, it is important to cover any of the brush strokes that are visible. Staining block will most likely include at least one more coat of spraying after the brushing is complete. A full dry is not required until the last coat of stain is applied. At this time, drying should be done over night.
Sealing
It is very important that the previous stain application has completely dried prior to applying a sealer. So, if it is dry, coat the entire wall with a generous coating of sealer. Remember when purchasing the sealer to double-check that it works well with the stain you are using. This is another reason that we recommend you to use non-toxic water-based cleaners, stains and sealers. This process becomes virtually fool-proof under these conditions. The sealer is applied with a paint roller and then must also dry overnight before ready to face the elements on its own. To learn more about sealer application, go to our Concrete Sealer page.
Now you should have a a new look to your cinder block wall. See, staining block is really not that difficult!